
In previous articles (HERE and HERE), we have talked about the RGB LED matrix panel as well as the RGB Matrix HAT which is the hardware interface between the LED panel and the Raspberry Pi. Today we will cover how to draw simple graphics on the LED panel.
Once the RGB Matrix HAT is connected to the Raspberry Pi and to the RGB LED matrix panel, you can start your Raspberry Pi and play with GeeXLab. From version 0.13, GeeXLab comes with built-in functions in Lua and Python to drive RGB LED matrix panels. For this article, I use Raspbian Jessie with Pixel desktop as well as GeeXLab 0.13.0 with OpenGL 2.1 support for Raspberry Pi (you can download this version from THIS PAGE). There is a second version of GeeXLab with OpenGL ES support but I prefer the OpenGL 2.1 version of GeeXLab because 3D accelerated windows are supported using X11/GLX.
The first thing to do is to initialize the RGB matrix support. RGB panels can be chained to create big displays. In this article, only one RGB LED panel is used. I will try to test chained displays later. Our LED panel has 32×32 LEDs. We initialize the RGB matrix in Lua with:
num_led_x = 32
num_led_y = 32
num_panels = 1

rgbmatrix_initialzed = gh_rpi.rgbmatrix_init(num_led_x, num_panels)

if (rgbmatrix_initialzed == 1) then
  -- Initialization OK
else
  -- Initialization FAILED!
end
Once the initialization is ok, you can use drawing functions. Do not except a lot of functions, only two kinds of functions are available: the first one sets the color of all LEDs in one call while the second kind sets the color of a particular LED.
To set the color of all LEDs:
-- r, g, b range: [0 ; 255]
--
gh_rpi.rgbmatrix_fill_u8(r, g, b)

OR

-- r, g, b range: [0.0 ; 1.0]
--
gh_rpi.rgbmatrix_fill_f32(r, g, b)
To set the color of a particular LED:
-- x, y are the LED coordinates in the range [0;31]
-- for a 32x32 LED panel
--
-- r, g, b range: [0 ; 255]
--
gh_rpi.rgbmatrix_set_pixel_u8(x, y, r, g, b)

OR

-- r, g, b range: [0.0; 1.0]
gh_rpi.rgbmatrix_set_pixel_f32(x, y, r, g, b)
All GeeXLab functions to play with RGB LED panels are listed on THIS PAGE.
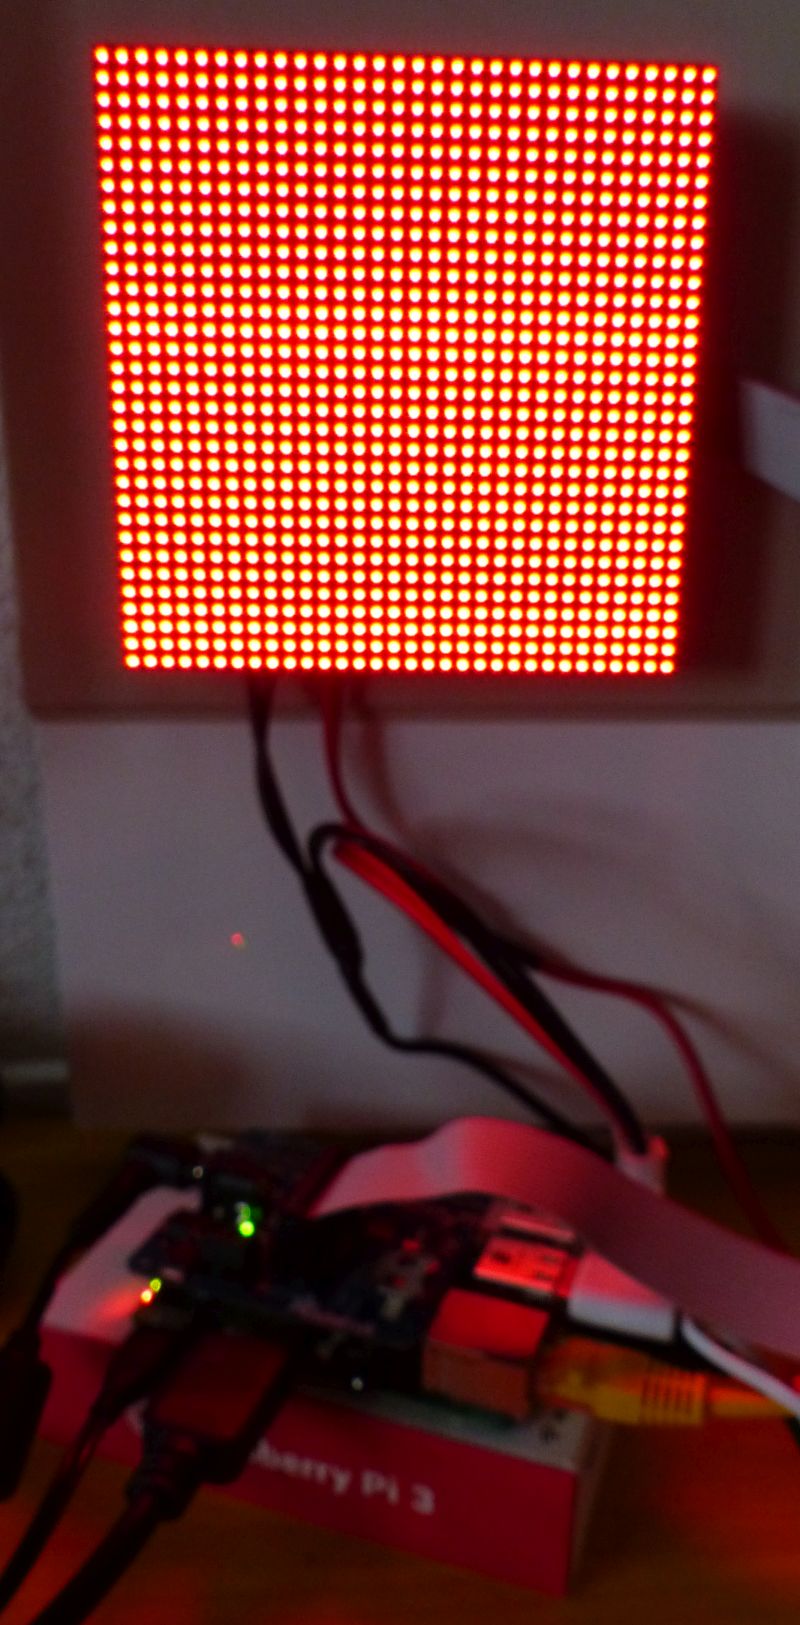
Let’s do a bit of practice. To color all LEDs in red:
gh_rpi.rgbmatrix_fill_u8(255, 0, 0)
You should see something like this:
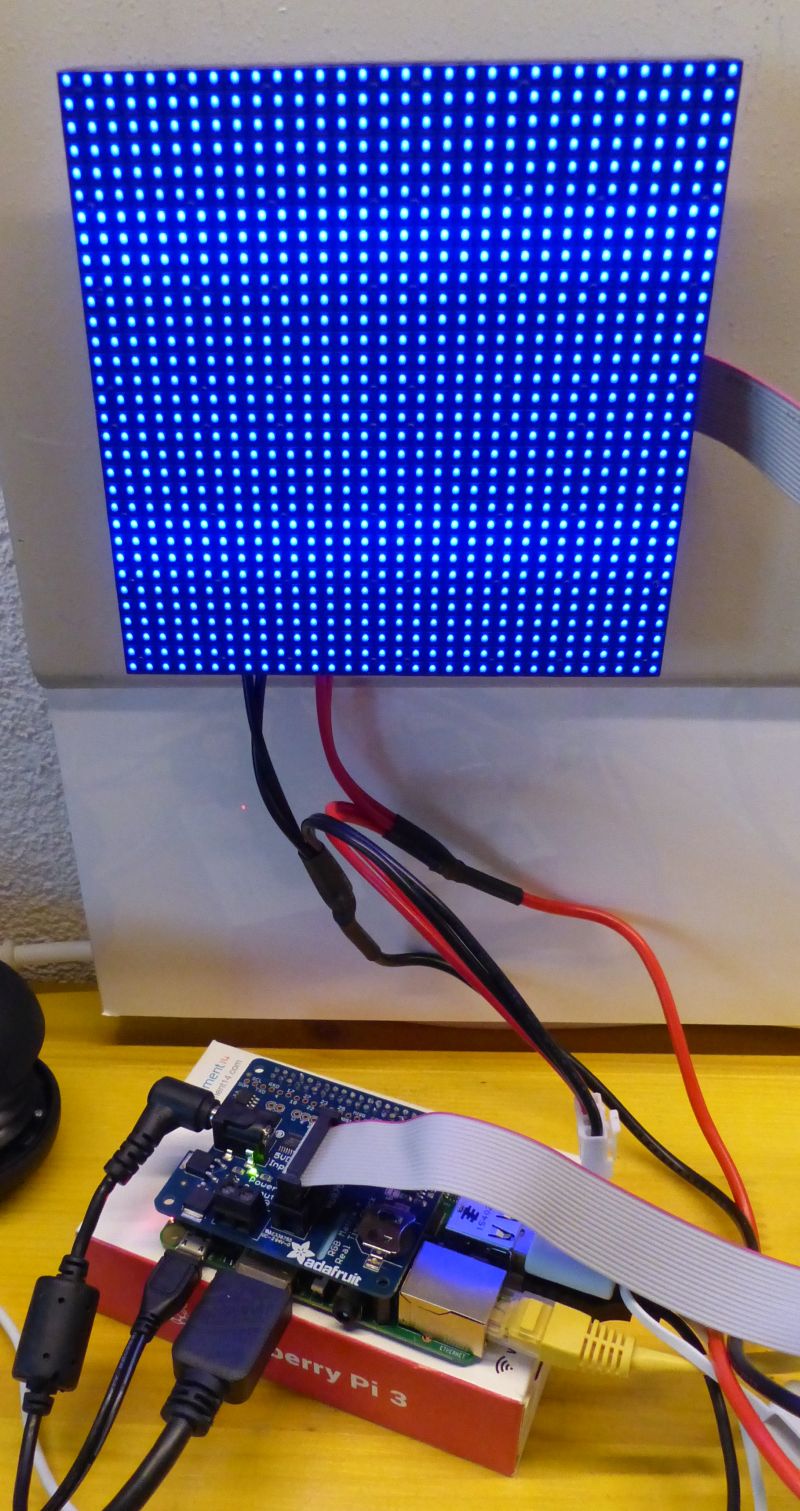
The following code:
gh_rpi.rgbmatrix_fill_u8(0, 0, 130)
will give you this result:
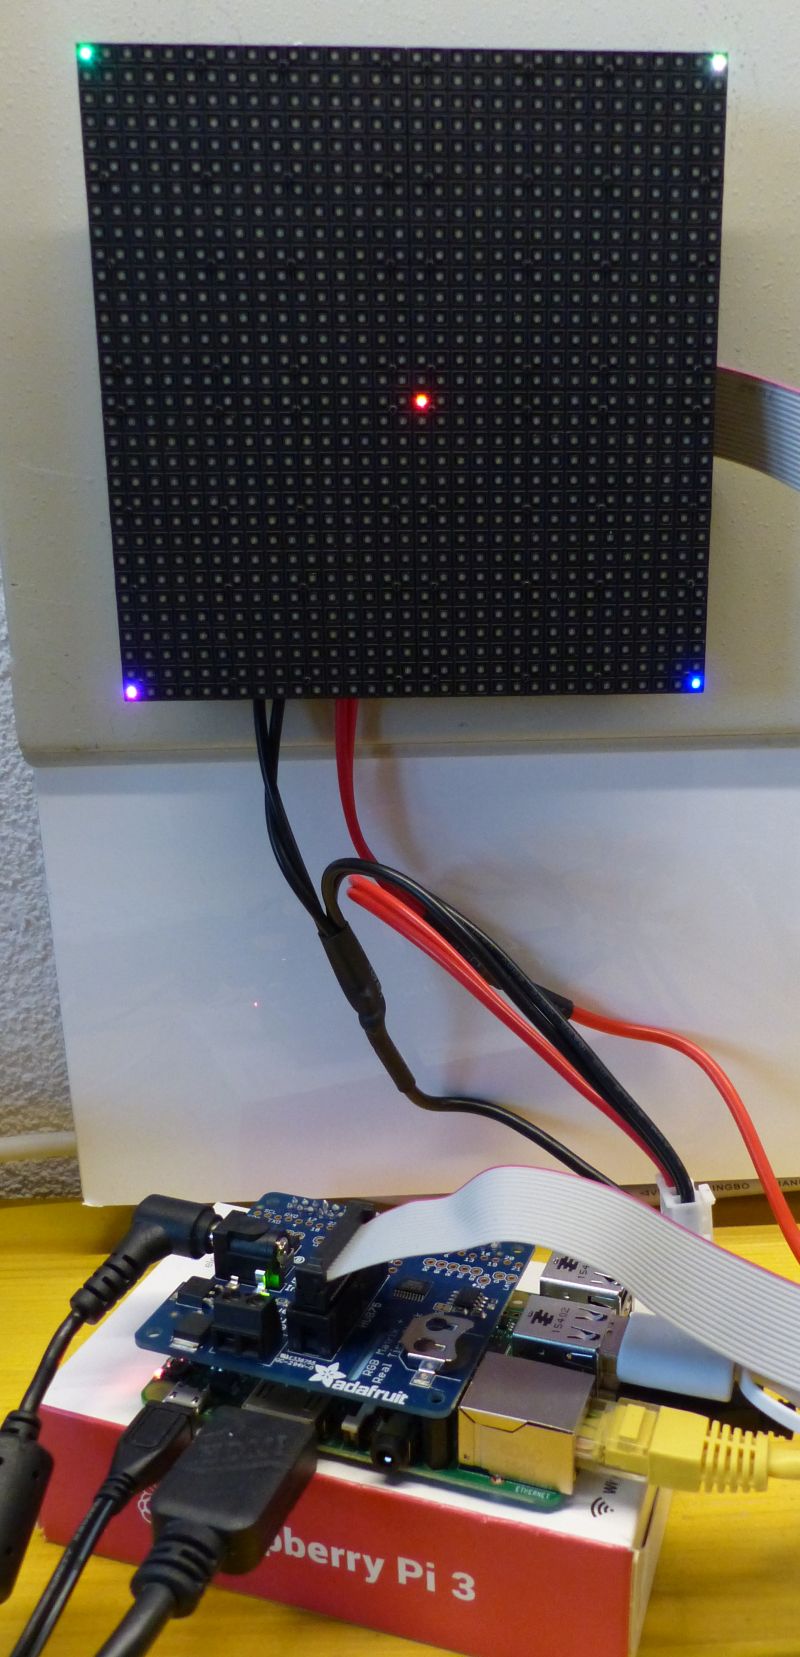
Now let’s draw individual pixel/LED. The following code snippet:
-- position: top-left corner  -  color: green
gh_rpi.rgbmatrix_set_pixel_u8(0, 0,    0, 255, 0)

-- position: top-right corner  -  color: yellow
gh_rpi.rgbmatrix_set_pixel_u8(31, 0,    255, 255, 0)

-- position: bottom-right corner  -  color: blue
gh_rpi.rgbmatrix_set_pixel_u8(31, 31,    0, 0, 255)

-- position: bottom-left corner  -  color: pink
gh_rpi.rgbmatrix_set_pixel_u8(0, 31,    255, 0, 255)

-- position: center  -  color: red
gh_rpi.rgbmatrix_set_pixel_u8(num_led_x/2, num_led_y/2,    255, 0, 0)
will give:
Let’s draw some circles:
local n = 100
local radius = 14
local angle = 0
local step = 360/n
local pi_over180 = 3.14159265 / 180.0

-- blue circle
for i=0, n do
  local x = ((math.cos(angle*pi_over180) * radius*2) + 31) * 0.5 -- [0;31]
  local y = ((math.sin(angle*pi_over180) * radius*2) + 31) * 0.5 -- [0;31]
  gh_rpi.rgbmatrix_set_pixel_u8(x, y,   0, 0, 150)
  angle = angle + step
end

-- green circle
angle = 0
radius = 11
for i=0, n do
  local x = ((math.cos(angle*pi_over180) * radius*2) + 31) * 0.5 -- [0;31]
  local y = ((math.sin(angle*pi_over180) * radius*2) + 31) * 0.5 -- [0;31]
  gh_rpi.rgbmatrix_set_pixel_u8(x, y,   0, 150, 0)
  angle = angle + step
end

-- red circle
angle = 0
radius = 8
for i=0, n do
  local x = ((math.cos(angle*pi_over180) * radius*2) + 31) * 0.5 -- [0;31]
  local y = ((math.sin(angle*pi_over180) * radius*2) + 31) * 0.5 -- [0;31]
  gh_rpi.rgbmatrix_set_pixel_u8(x, y,   150, 0, 0)
  angle = angle + step
end

Really easy! Thanks to rgbmatrix_fill and rgbmatrix_set_pixel you have all you need to draw what you want.
“Give me a pointer to the video memory and I will draw the world!”
Ok that’s cool but where are the demos? All demos related to this article are available in two places:
- in the code sample pack, in the gl-21/rpi/rpi_rgb_matrix/ folder.
Play with and hack the following demos: demo01_rpi_gl21.xml and demo01b_rpi_gl21.xml. - in the demos/ folder that comes with GeeXLab for Raspberry Pi with OpenGL 2.1 support.
GeeXLab for Raspberry Pi with OpenGL 2.1 support can be downloaded from THIS PAGE.
How to run a demo?
In GeeXLab’s folder you will find a file called demos.sh. Edit this file and uncomment/comment the lines that start with sudo:
#---------------------------------------------------------
# RGB LED Matrix demos (HUB75) - require root rights
#---------------------------------------------------------
sudo ./GeeXLab /demofile=\"./demos/rpi_rgb_matrix/demo01_rpi_gl21.xml\"
#sudo ./GeeXLab /demofile=\"./demos/rpi_rgb_matrix/demo01b_rpi_gl21.xml\"
You can now run the demos.sh file. The demos.sh file has the execution bit set, so you can launch it by double-clicking on it. Or you can run it in command line with:
{GeeXLab_RPi_folder} $ sh ./demos.sh
RGB LED matrix demos requires root level because they use the GPIO to control the RGB Matrix HAT.
In the next article, I will show you how to draw more complex graphics 😉
Cannot wait the next article !
fascinating, I liked programming when I was younger, I used to draw a lot of circles and star skies lol
now I gave up but still find it interesting, also this rgb matrix stuff feels like a step back in time somehow, when displays were CRT and low res, 8 bit era eh.