
I’m starting a series of articles about how to render real time 2D/3D graphics on RGB LED matrix panels with a Raspberry Pi. Even if the resolution of graphics is very low (32×32 pixels for a 32×32 LED display), drawing 3D stuff on that kind of display is very cool!
1 – Overview
There are several models of RGB LED matrix panels and I selected the Adafruit 32×32 panel with a pitch of 4mm because it was easily available at my local dealer. Other panels were available: 8×8 and 32×64 panels. Adafruit has a stack of different RGB LED matrices: LEDs / RGB Matrices @ Adafruit.
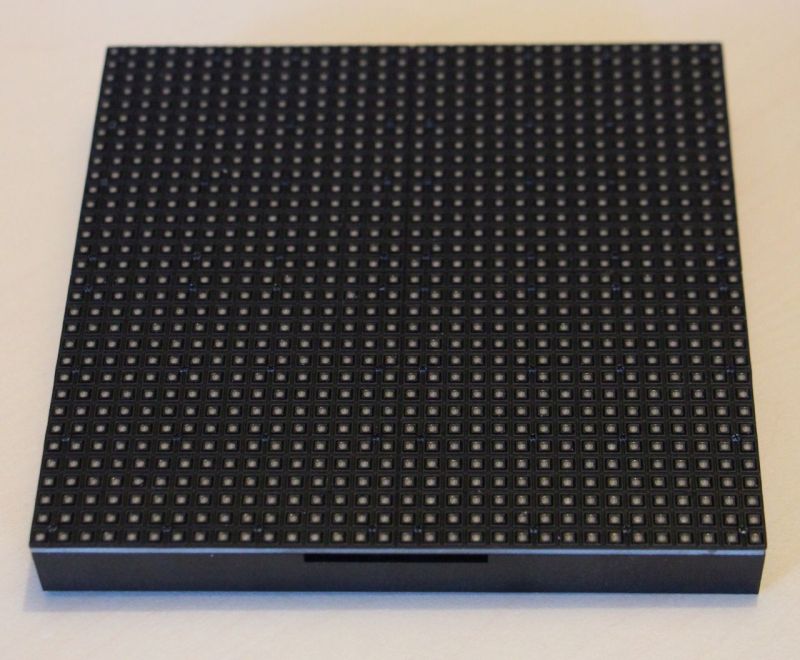
The Adafruit 32×32 RGB LED matrix panel is a LED display with a pitch of 4mm (the distance between two LEDs is 4mm). This panel has 1024 LEDs and requires a good power supply unit. A 32×32 panel can draw up to 4A with a voltage of 5V.
This LED display is driven via a HUB75 interface, which is physically represented by a 16-pin connector. The HUB75 interface is used with RGB LED panels. Another common interface is the HUB12 used to drive monochrome LED panels. On a RGB LED panel, there is only the HUB75 interface.
If a 32×32 LED panel is too small, you can chain several panels together to make a bigger one. Big screens are often made up of several LED panels. For example, to make a 64×64 panel, you can chain four 32×32 or two 32×64 panels.
2 – Gallery
Ok enough talking, here is the photo gallery (high resolution pictures are available HERE).
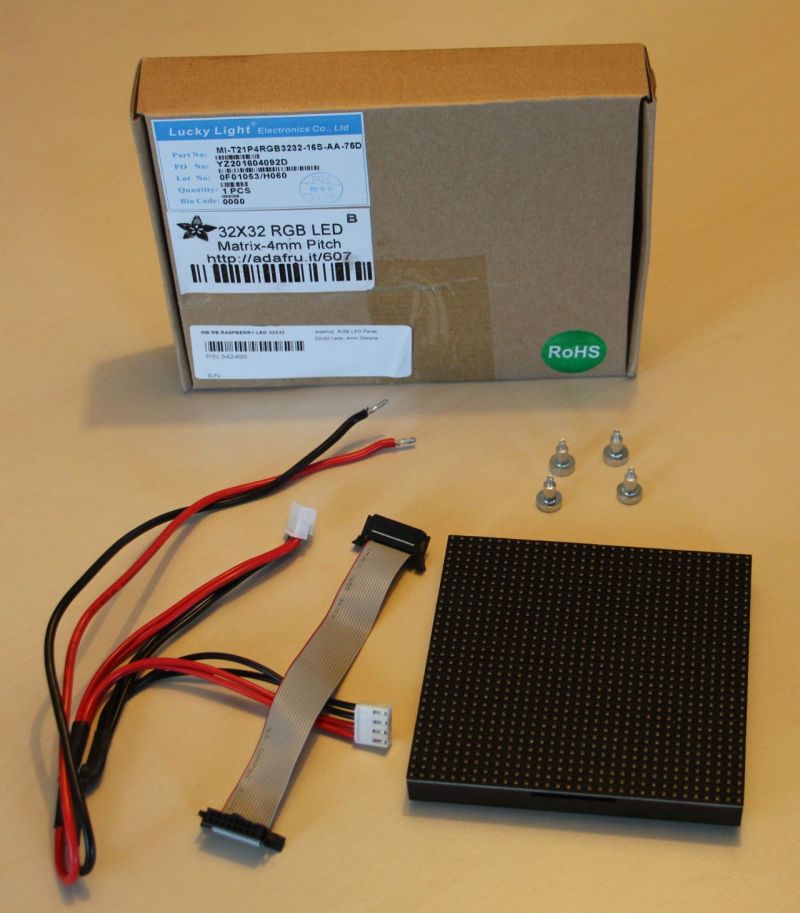
The bundle: the 32×32 matrix panel (size: 13cm x 13cm), one IDC cable (HUB75 interface) and four mini-magnets to mount the panel on any magnetic surface. Very handy!
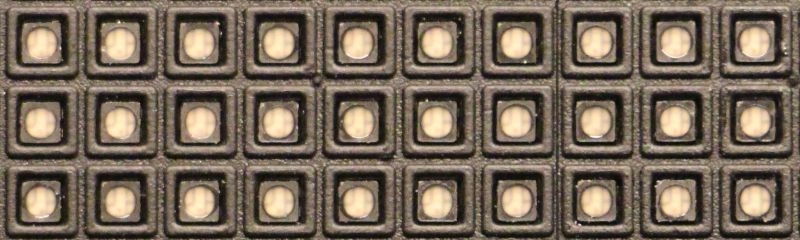
Detail of some LEDs:
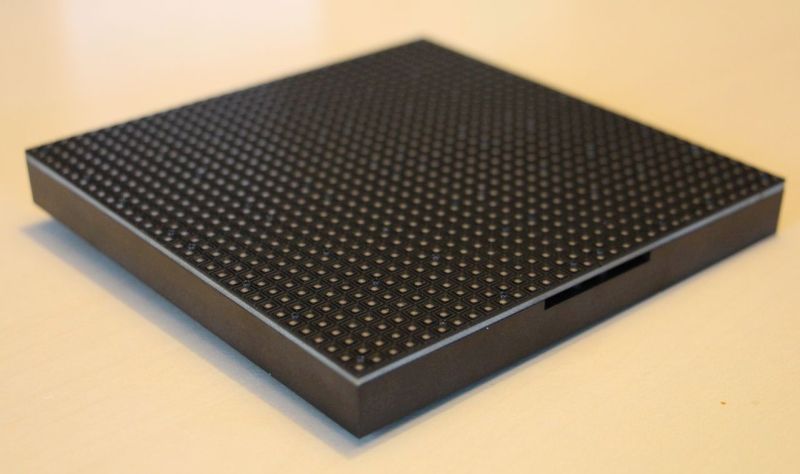
The rear side with two HUB75 connectors. The input connector is used to connect the panel to the Raspberry Pi for example while the output connector can be used to chain another panel.

The four min-magnets to mount the panel on a metallic surface:

In the next article, I will talk about the interface between the Raspberry Pi and the 32×32 RGB LED matrix panel: the HAT…
Do you have a video, like a rotating wireframe cube or something? Should look really cool.
yes I have some videos. They will be published in one of the next articles. And yes, it’s very cool!