Article index:
- 1 – Pillow Installation
- 2 – Pillow Version
- 3 – Image Loading and Saving
- 4 – Reading the pixels
- 5 – Image Processing
- 6 – Image Processing Operations
- 7 – Adding a watermark
4 – Reading the pixels
You can access to the individual pixels of the pixmap using the getpixel() function of the image object. In the following example, tex01 is a GLSL Hacker texture and pixels of Pillow image object are copied into tex01 using gh_texture.set_texel_2d() function.
The getpixel() function returns the value of a single pixel. Just give a tuple with the X and Y coordinates and getpixel() returns a 3-tuple RGB for a RGB image or a single value for a luminance image.
if (im != None):
  tex01 = moon3d.image.create2dRgbU8(imageW, imageH)

  if (im.mode == "RGB"):
    for y in range(0, imageH):
      for x in range(0, imageW):
        offset = y*imageW + x
        xy = (x, y)
        rgb = im.getpixel(xy)
        gh_texture.set_texel_2d(tex01, x, y, rgb[0], rgb[1], rgb[2], 255)

  elif (imout.mode == "L"):
    for y in range(0, imageH):
      for x in range(0, imageW):
        offset = y*imageW + x
        xy = (x, y)
        r = im.getpixel(xy)
        gh_texture.set_texel_2d(tex01, x, y, r, r, r, 255)
else:
  tex01 = moon3d.image.load2d(img_filename)
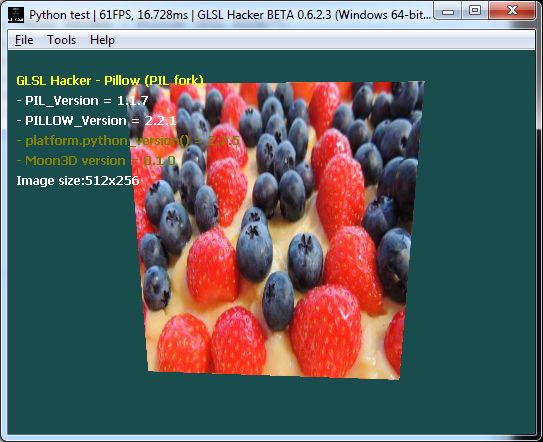
The full demo is available in moon3d/gl-210-python-pil-pillow/pillow_pixmap_reading_pixels.xml. Just load it in GLSL Hacker and you should have:
Article index: