To render an image, we need an orthographic camera, a texture GPU program, a quad and the image (a texture).
Here is how to create and initialize the orthographic camera for this particular task:
-- Window size.
--
winW, winH = gh_window.getsize(0)

-- orthographic camera.
--
camera_ortho = gh_camera.create_ortho(-1, 1, -1, 1, 1.0, 10.0)
gh_camera.set_viewport(camera_ortho, 0, 0, winW, winH)
gh_camera.set_position(camera_ortho, 0, 0, 4)
The texture is loaded as follows:
local is_absolute_path = 0
local PF_U8_RGB = 1
local PF_U8_RGBA = 3
local pixel_format = PF_U8_RGB
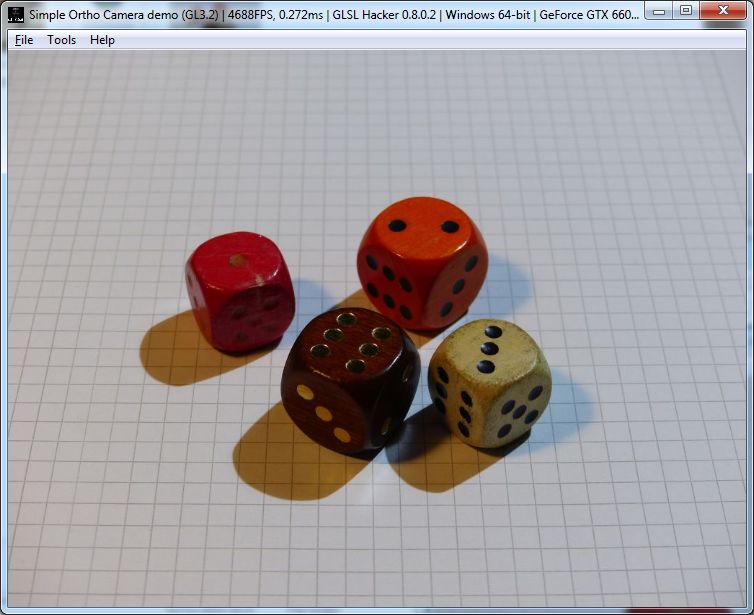
image = gh_texture.create_from_file("./dice.jpg", pixel_format, is_absolute_path)
Now the quad:
quad = gh_mesh.create_quad(2, 2)
We create a 2×2 quad that spans from -1 to 1 along the X axis and from -1 to 1 along the Y axis. Combined with the orthographic camera, this quad allows to use a very simple vertex shader that does not require matrices multiplication.
Here is the very simple texturing GLSL program:
and how to get its handle in the Lua init code:
tex_prog = gh_node.getid("tex_prog")
To end up this tutorial, here is the Lua render code that is executed every frame:
gh_camera.bind(camera_ortho)
gh_renderer.clear_color_depth_buffers(0, 0, 0, 1, 1.0)
gh_texture.bind(image , 0)
gh_gpu_program.bind(tex_prog)
gh_object.render(quad)
You can find a ready-to-use demo in the code sample pack (host_api/Camera_Ortho/demo_gl3.xml).
Of course, this kind of GLSL program can be used to render the texture of a post processing render target.